The skill and motorcycle experience necessary is 2 stars out of 10 stars.
There is a special connection between rider and bike; this bond can be enhanced by the feeling you get when you are able to do at least simple DIY projects yourself. Who would you trust more to assure your safety than yourself? Starting with simple maintenance projects, you can save money, but more importantly, it familiarizes you with your machine and increases your confidence in case you ever have to attempt roadside repairs.
First, you need to acquire a set of pads specifically made for your motorcycle and ideally made for the type of riding you do. It is always a good idea to replace any wear parts as you go to prevent failure and additional labor.
You will need a selection of tools, so gather them before you start. A motorcycle lift would be very helpful with this process, but definitely not necessary.
You will need basic hand tools like wrenches and sockets, a drive set, screwdrivers, and Allen wrenches. Each bike is a little different, so look at the total project and have the sizes you need on hand before you ever lift the bike.
Special tools you will need will include a set of pliers, a brake pad spreader, and a torque wrench to ensure the proper tightening of all bolts and fasteners.
Keep your area clean and your parts clean. You can use brake clean in a can. Soapy water and a soft brush can be helpful as well.
Make sure any lubricant you use is high-temperature because this is a high-wear item, friction = heat.
Safety is key, so the usual PPE (Personal Protective Equipment) is in order: gloves and eye protection. A motorcycle jack and stands are recommended.
Let’s Begin
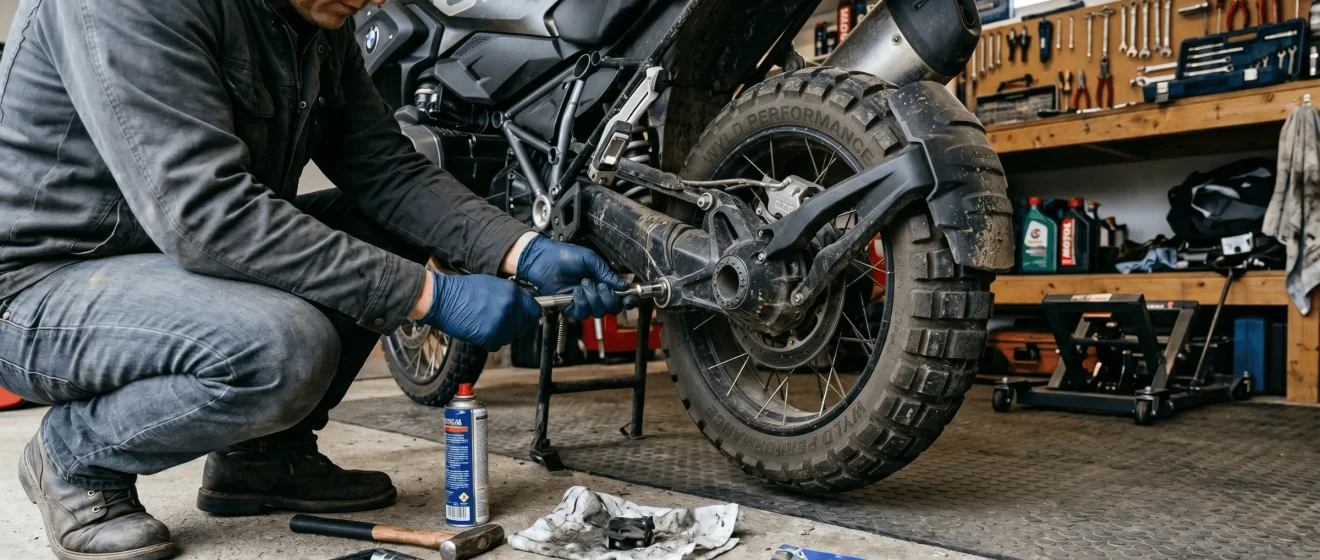
1. Make sure you are in a clean and level place, secure the bike with a stand, and make sure it will not fall or lean.
2. Look at your old pads. Any pads with less than 2 mm of friction material remaining must be changed. You should use this inspection time to look at the condition of the brake disks; there should be no cracks, heat bluing, or ridges in the disk. If there are, you should not just replace the pads. You will need to replace the disks.
3. Remove the caliper once the bike is secured. Start by removing the pad retaining pin or plug. Only then, remove the caliper retaining bolts, leave the brake fluid line attached, and secure the caliper not to damage it. Do not hang caliper by the brake lines. You do not want to lose brake fluid, or you must bleed the system afterwards.
4. Removing the old pads once the caliper is removed should be pretty straightforward, but take note of any springs, retainers, or clips, and their specific orientation.
5. Clean the caliper thoroughly, using brake clean or soapy water and soft bristled brush. Remove all dirt, grease, and brake dust.
6. This is the point where you must retract the piston, use a brake pad spreader, or C-clamp to gently push the piston back into the caliper housing. It’s a good idea to use one of the old brake pads as a shim if you use a C-clamp. The piston must retract evenly and completely into the housing.
7. next its time to install the new pads in the exact opposite direction you took the clips and retainers apart. You will now replace them on the bike. Be sure to apply a thin layer on the back side of each pad before assembly to help with assembly, squeaking noises, and later disassembly.
8. Reattach the caliper to the bike in the same orientation it came off. It will bolt back to the fork or swingarm. Be sure to tighten all bolts to the exact manufacturer’s torque settings and sequencing.
9. Check the system for leaks. Visually assess the levels in the brake reservoir. Pump the brakes a few times to ensure the brake pads are situated in the correct place against the disk.
10. Ride with caution around the block or area with light traffic. Test the brakes multiple times at low speed before you try to accelerate as normal.
11. If all is good, no new noises or strange feelings, Bob’s your uncle.
Additional safety notes
Work on one caliper at a time to prevent confusion and running too low on brake fluid.
Don’t put too much pressure on bolts and clips that might be rusted tight; use a penetrating oil. Be sure to protect any painted or polished surfaces,
Regularly inspect not only your brake components but all of your fasteners, bolts, and rubber. This should ensure worry-free and safe riding!
 Account
 Categories
 Car filter
 Search